A while back I mentioned that I would write about the new bimini that I made over the summer. As I stand (no chairs) in the dingy laundry room at the Lighthouse Marina in Hope Town I will write about the project. We knew we needed a new bimini to replace the leaky old one. We considered making a rigid bimini out of expanded PVC. Ron and Dee from Ursa Minor had made one and said it worked really well. They talked us through to process of using a heat gun to mold the expanded PVC to fit the frame and then bolting it onto the frame. After looking into it for a few weeks we decided we just didn’t know enough to try it, so that meant I would have to make a new bimini out of fabric. The old bimini was too stretched out to use as a pattern so we made a new pattern out of Dura Skrim from Sailrite. We were very careful to follow the instructions and make it as accurate as possible. I decided to use Stamoid vinyl fabric from Sailrite. It is a very nice, but expensive, fabric made by the Ferrari company and is often used on high end yachts. I chose it because I thought it would be less leaky and would be easier to clean. I followed the instructions in the Sailrite video to cut and assemble the bimini. When it was finished and ready for a fitting we took it down to the boat to try it on. When we loosened the rigid supports on the sides of the frame, one dropped in the water. If this had happened in the Bahamas we could have seen where it landed on the bottom and easily picked it up. Not so much in the mucky Chesapeake. George did use the grappling hook to root around for it but did not find it. So much for the fitting. I ordered a new support and went to work on a different project until it arrived. When we were finally able to try the new bimini on the frame it was too big by about 4 inches. Darn! I am still not sure how that happened. I took it in on the middle seam and finally got it so that it fit well, but not perfectly. There are wrinkles that I just can’t seem to make go away. I had to eventually decide it was good enough. I next made the extension that connects the bimini to the arch. Since the arch is higher than the bimini the extension slopes downward. Water used to pour in through the openings I had for the backstay when it rained. For this extension I put the openings on the higher side. After that was finished I fitted the enclosure panels and shade panels on the to the new bimini and extension. They didn’t fit! In order for the new bimini to fit snugly it apparently pulled more on the frame and changed the shape. So, I had to add pieces to some of the enclosure panels and shade panels to make them fit. At this point this whole project felt like the project that would never end. I am certainly glad I started it early in the summer. 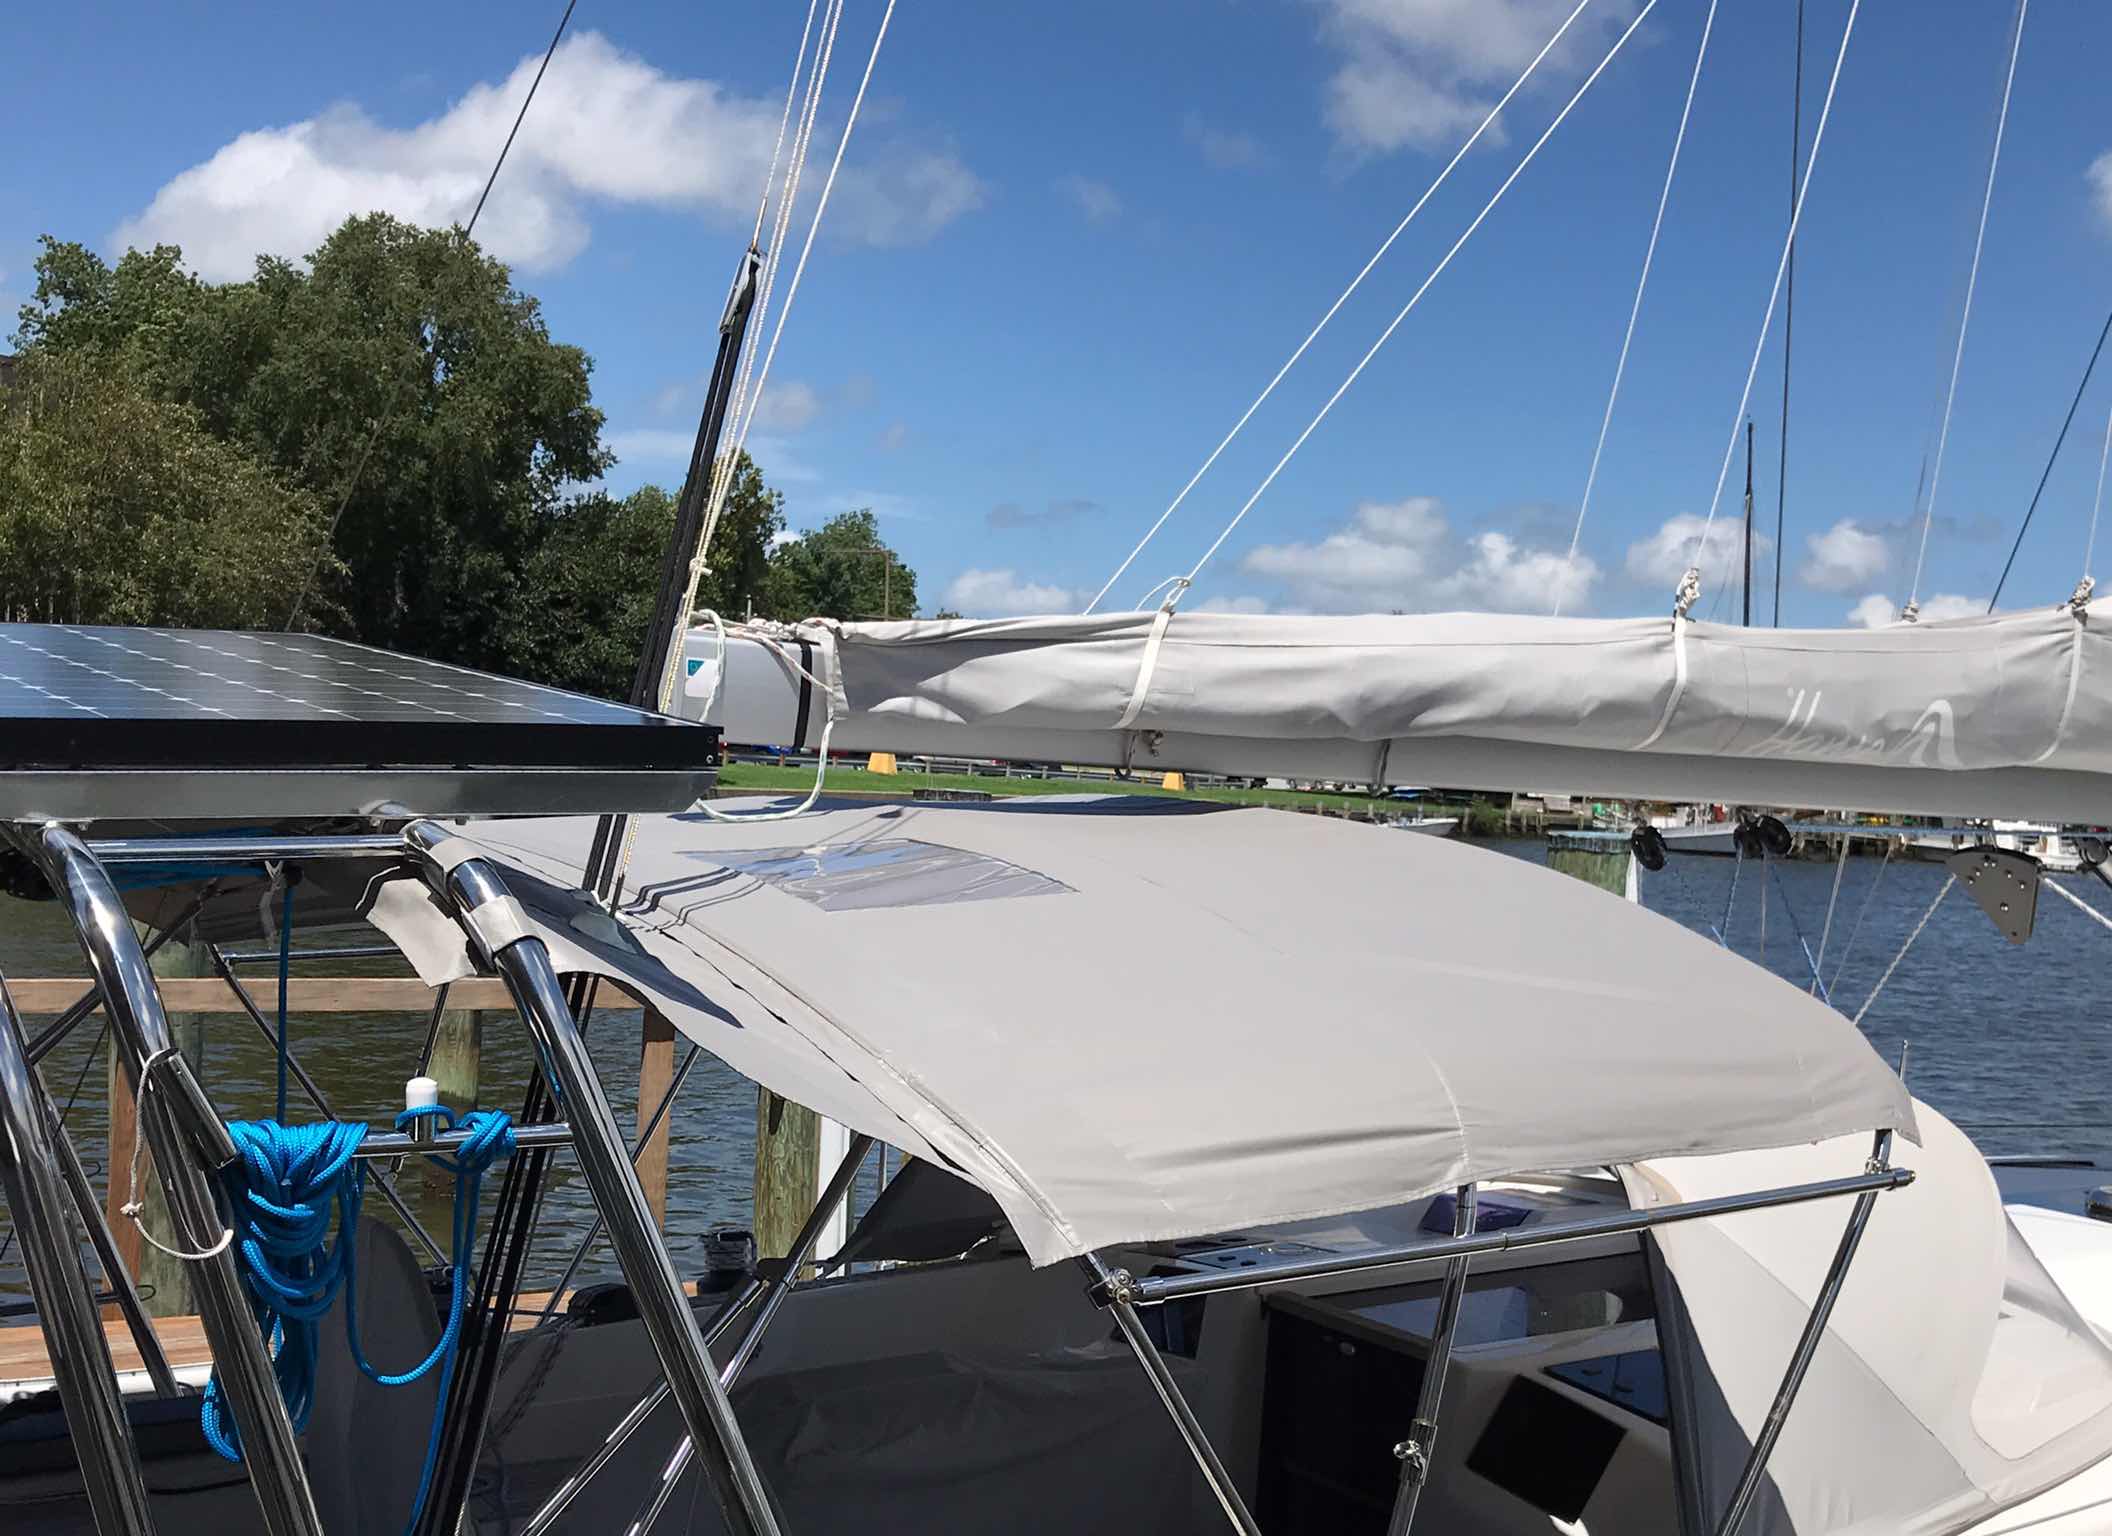
New bimini and extension

Dura Skrim pattern on Stamoid fabric, held in place by magazines

My assistant, George, making binding

Inside bimini with new, larger windows for viewing the mainsail
Some thoughts about Stamoid-since it is vinyl it is less forgiving of needle holes. In order to waterproof the seams I used a vinyl glue called HH-66. It seems to have worked well. Also, the gray color I chose did not have a pre-made binding to match. George agreed to help me make many yards of binding. I cut the strips and he glued the edges over.
Now that we are in the Bahamas and living with the new bimini we are happy with it. My redesign of the extension worked well with one exception. When we had a deluge early in our trip the water came through the two long zippers that connect the extension to the bimini. There is a flange on the bimini side of the zipper but the water just runs under it. I am hoping I can add another flange to the extension side (the higher side) to keeps the water from getting to the zipper. It will have to wait until we return home.
New bimini and extension
Dura Skrim pattern on Stamoid fabric, held in place by magazines
My assistant, George, making binding
Inside bimini with new, larger windows for viewing the mainsail
Comments
Post a Comment