For the past few weeks—since we returned from our last trip on Breeze On—we have been building a new dodger. It is a miserable job, one I have been avoiding for over a year. The original dodger was a nice fit but the fabric was not of great quality. I feared it would fail at a time when it would be impossible to fix. I had originally planned to build the new dodger last summer but talked myself out of it, hoping that the dodger would last another year. Fortunately, it did last but I didn’t dare put it off any longer. I purchased the same Stamoid brand vinyl fabric that I used for the new bimini I made two years ago. I had considered using a rigid, thin polycarbonate material, such as Makrolon, for the windows but decided against it for a variety of reasons. The marine grade Makrolon is hard to find and ridiculously expensive. It is difficult to sew and does not bend well around curves. The windows on our dodger have a pronounced curve and I wasn’t sure if I could make the rigid window material work. In the end I used the same O’Sea 30 gauge clear vinyl that I used for the enclosure panels. 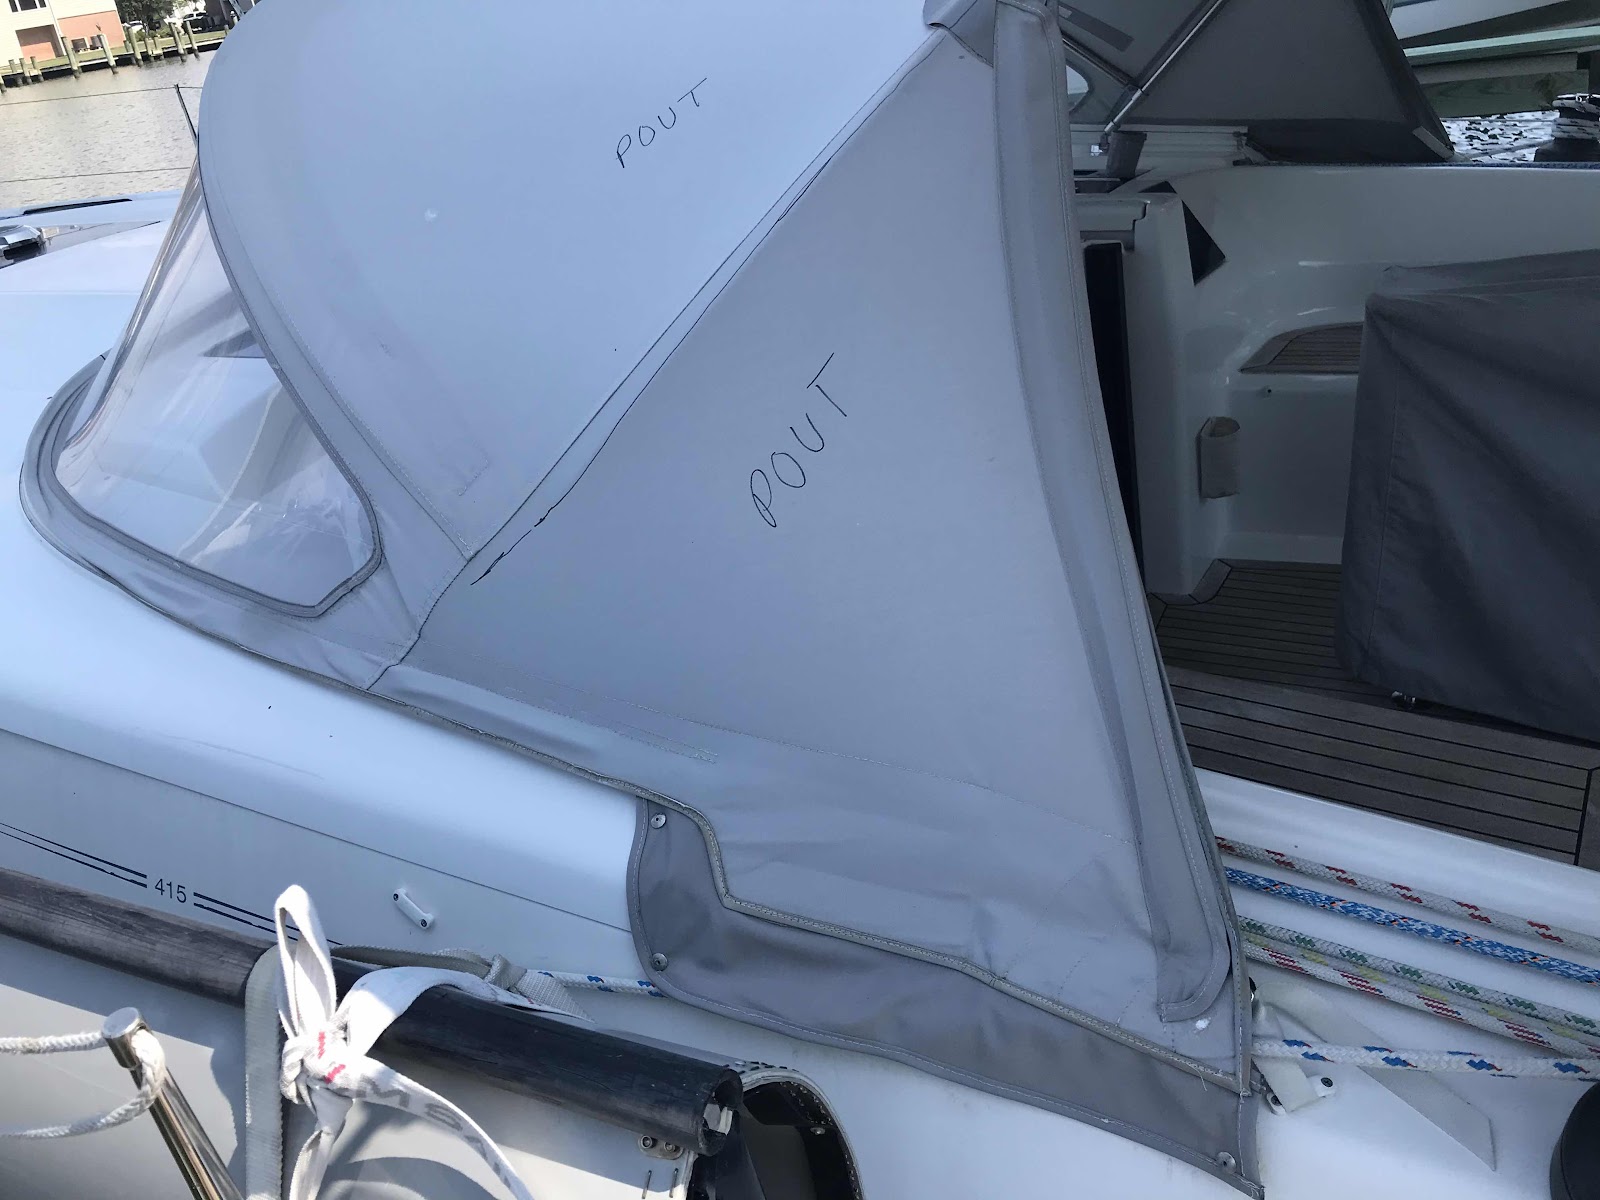
Old dodger marked up and ready to be cut up and used as a pattern. POUT refers to port side out.

Window material cut and ready to be attached to the dodger front. Sandbags used as pattern weights.

Zippers sewn into the windows. Evolution fabric taped on to protect the windows.

First fitting. Note the big gaps on the sides.

The sweat shop set-up. Sailrite sewing machine. Dodger on card table and cutting table. George was invaluable in helping move the dodger as I sewed.

Almost finished!

Love those grab bars.
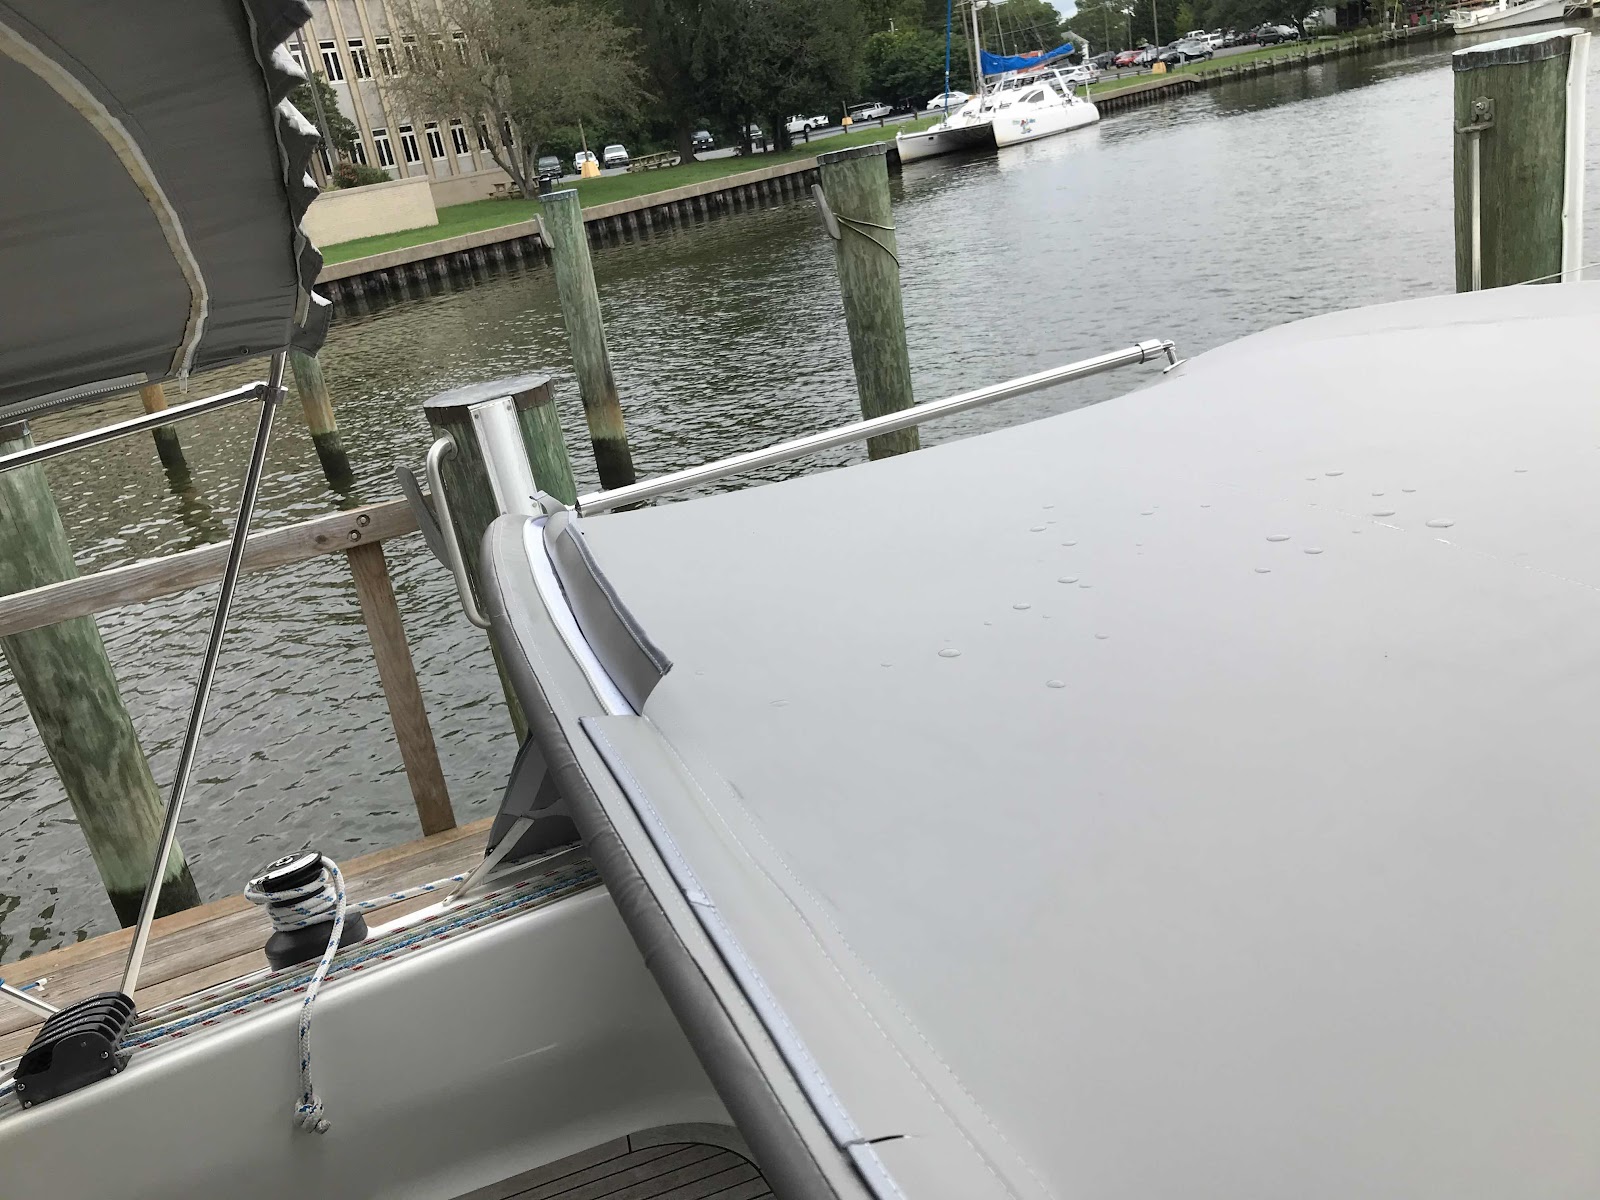
Side view
Flange with slits cut. Still won’t lie down properly.

New flange. Not perfect but it will do.

New dodger has two large windows—instead of one small window—that open and zip to the top.
I followed the instructions provided by in the Sailrite video, with one big exception. They no longer recommend using the old dodger as a pattern. Since we liked the way the old dodger fit we took the risk and used it as a pattern. Throughout the project George helped tremendously. He started by ripping out all the seams on the old dodger while I made 5 lb sandbags (using rice) to hold the pattern down. In the past I used piles of cookbooks and magazines as pattern weights. The sandbags were a huge improvement.
George also helped maneuvering the dodger as I sewed. It is huge, heavy, and hard to control. Also, once the windows were attached it was important to make sure they weren’t being bent into points that would end up leaving a permanent mark. I purchased the Evolution fabric recommended by Sailrite to protect the windows as I sewed. I used painters’ tape to attach it to the windows. Sailrite warns about leaving the tape on the window too long and damaging the window. After two days I took the tape off the windows and then reapplied it for another two days to do more work. When I took the tape off I could see that the tape left some marks. Ugh! I wasn’t sure whether the marks were from adhesive left behind or the window material itself being damaged. Using adhesive remover and window polisher I worked several hours to remove the marks. They are better than they were but still visible. We will just have to live with them.
Last week we took the new dodger to the boat for the first fitting. It was at least three inches too small. Oh no! We couldn’t even begin to get it attached on the sides. The vinyl Stamoid has very little give. I knew that but thought that the old canvas had stretched out enough to provide an appropriate size for a tight fit. Wrong. I moved the side zippers down and inch and a half on each side. It was enough to at least attach the dodger to the boat. Hurray! I have to say that attaching the dodger to the boat and taking it off are not easy tasks. We both dreaded every time we had to do a fitting. I eventually wrote down the steps, in order. We would review the steps until we did so many fittings we had them memorized. We added grab bars to the sides of the dodger; an improvement which we both love, but adds more work to putting the dodger on and taking it off.
Yesterday we finally had everything finished and put the dodger on for the final time, we thought. The flange covering the zipper for the enclosure extension on top of the dodger just wouldn’t lie down. The problem was, once again, the vinyl was being pulled too tight so it flipped up. Instead of making a new pattern for the flange I had used the original pattern I made when I constructed the enclosure. It worked well with canvas but not vinyl. My first inclination was just cut slits in the flange and glue vinyl to the gaps. I cut the slits but it still wouldn’t lie down. This morning I decided that I wouldn’t be satisfied until I made a new flange. So, we made a new pattern, took the dodger off, sewed the new flange on and put the dodger on for the last time in a while, we hope! Although the new dodger isn’t perfect we are quite pleased with the results and hope that it lasts a long time.
Old dodger marked up and ready to be cut up and used as a pattern. POUT refers to port side out.
Window material cut and ready to be attached to the dodger front. Sandbags used as pattern weights.
Zippers sewn into the windows. Evolution fabric taped on to protect the windows.
First fitting. Note the big gaps on the sides.
The sweat shop set-up. Sailrite sewing machine. Dodger on card table and cutting table. George was invaluable in helping move the dodger as I sewed.
Almost finished!
Love those grab bars.
Side view
Flange with slits cut. Still won’t lie down properly.
New flange. Not perfect but it will do.
New dodger has two large windows—instead of one small window—that open and zip to the top.
Comments
Post a Comment